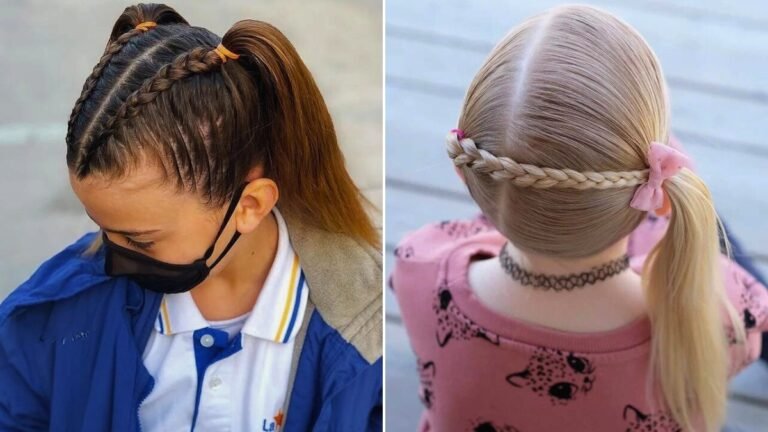
How to Do Dutch Braid [Step By Step Tutorial] 2024
The Dutch braid, a popular and stylish hair-brading technique, stands out for its unique appearance where the braid sits atop of the hair rather than underneath. This method creates a striking, textured look that adds dimension to any hairstyle.
The Dutch braid is both important and versatile in hairstyling, as it can be adapted for casual outings, formal events, or even athletic scenarios where a secure and chic style is needed.
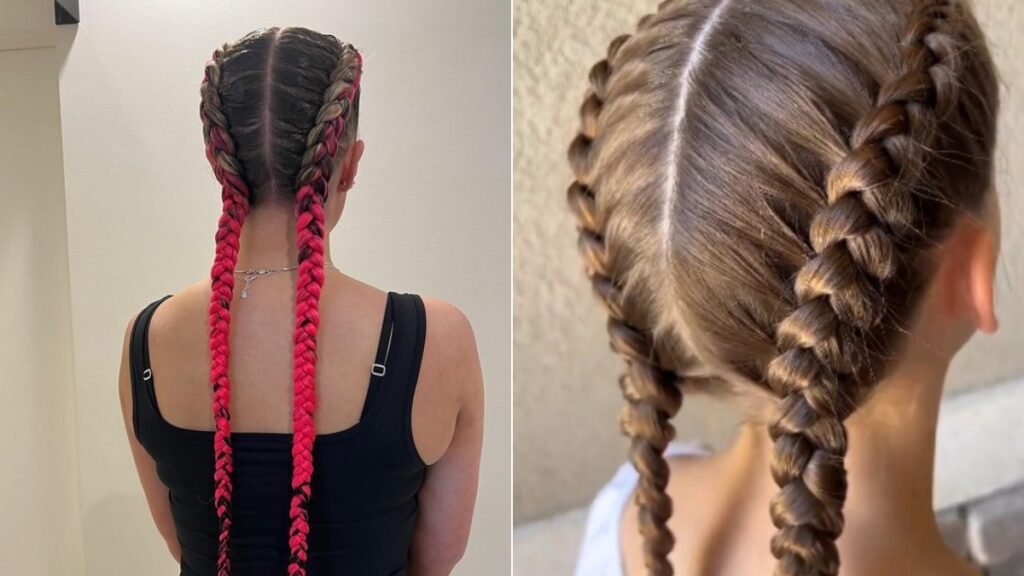
The goals of this tutorial are to guide you through the step-by-step process of creating a beautiful Dutch braid and to help you gain confidence in mastering this timeless technique.
Whether you’re a beginner or looking to refine your skills, this guide aims to enhance your hairstyling repertoire.
Materials Needed
To successfully create a Dutch braid, you’ll need a few essential tools and products on hand.
First, gather a good quality hairbrush or comb to ensure your hair is tangle-free and smooth before you begin braiding.
Next, have a couple of hair elastics ready, preferably ones that match your hair color, to secure the ends of the braid once it’s complete.
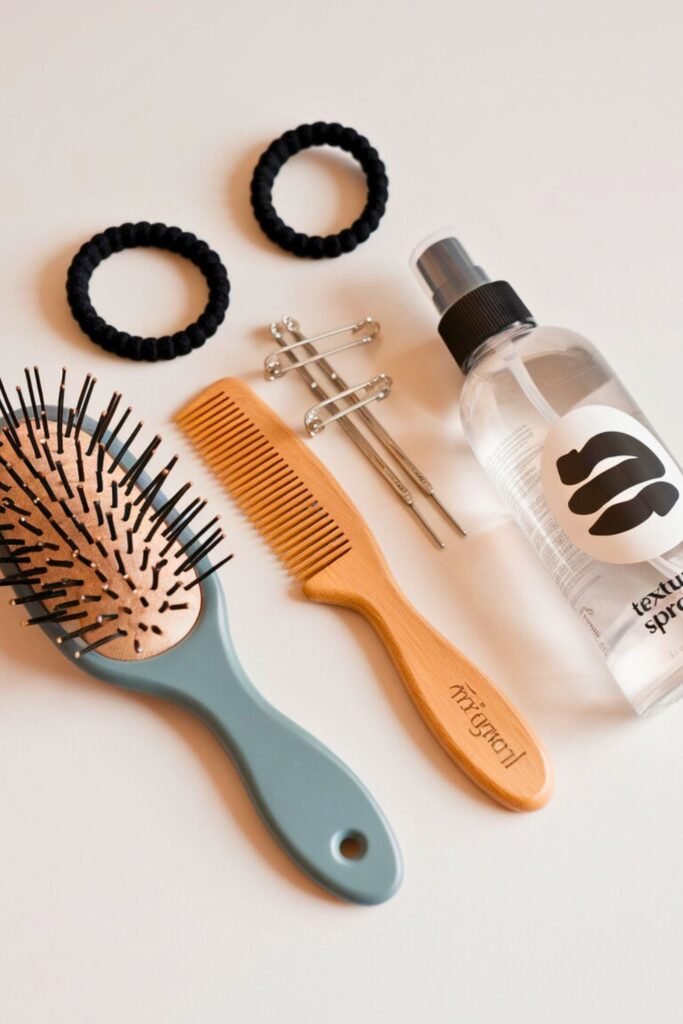
Furthermore, you’ll need a few hairpins to help keep any stray hairs in place or to secure the braid further if desired.
For best results, consider using a texturizing spray or mousse, as these products can add volume and grip, making the braiding process easier and helping the braid hold better throughout the day.
Preparation
Steps to Prepare Hair for Braiding
Before you start the braiding process, begin by thoroughly washing and conditioning your hair to ensure it’s clean and manageable.
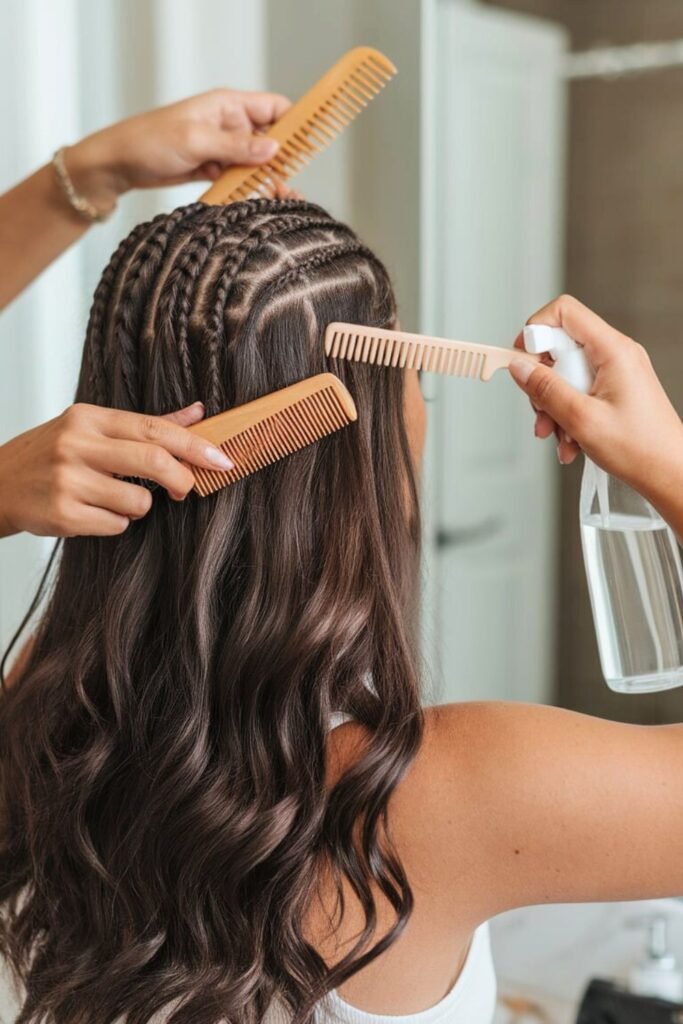
Once your hair is clean, gently towel-dry it or use a blow dryer until it is slightly damp or completely dry, depending on your preference.
If your hair is naturally oily, applying a small amount of dry shampoo can help maintain freshness and add some texture.
Tips for Detangling and Smoothing
To achieve a smooth and polished Dutch braid, proper detangling is crucial.
Start by using a wide-tooth comb or a detangling brush to gently work through any knots or tangles, starting at the ends and gradually moving up towards the roots to avoid breakage.
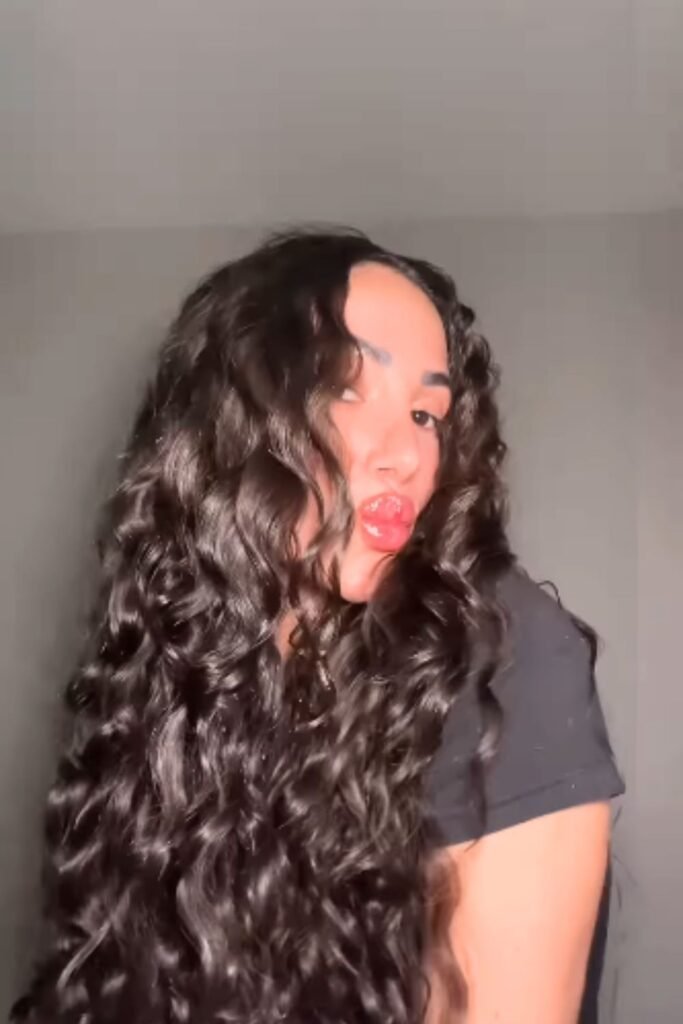
For additional smoothness, apply a leave-in conditioner or a small amount of serum to your hair, focusing on areas prone to frizz.
This will help the braid look sleek and keep hair strands from sticking out. If needed, use a light texturizing spray to add some hold and grip before you begin braiding.
Step-by-Step Braiding Instructions
1. Section the Hair
Begin by deciding where you want the Dutch braid to start, such as the center of your head for a traditional style or slightly off-center for a more modern look.
Using a tail comb, create a clear parting in the desired starting position. Once the initial parting is made, separate a portion of hair at the crown – this will be the starting section of your braid.

Divide this portion into three equal strands to set up for the classic three-strand braiding technique.
Ensure each strand is neatly sectioned to prevent tangles as you start braiding. If needed, clip back the rest of your hair to keep it out of the way while you work with the initial section.
2. Begin Braiding
To start the Dutch braid, cross the right strand under the middle strand, ensuring it becomes the new middle piece.
Then, take the left strand and cross it under the new middle strand, keeping the three-strand structure intact. As you proceed, incorporate new sections of hair into the braid.

To do this, gather a small section of loose hair from the right side, add it to the right strand, and then cross it under the middle strand.
Repeat the same process on the left side: gather a small section from the left, add it to the left strand, and cross it under the middle strand.
Continue these steps of adding hair and crossing the strands under until you reach the nape of your neck, ensuring each section is tight and smooth for a neat, cohesive braid.
3. Dutch Braiding Technique
Continue Braiding
After reaching the nape of your neck, maintain the braiding technique to secure the remaining loose hair into the braid.
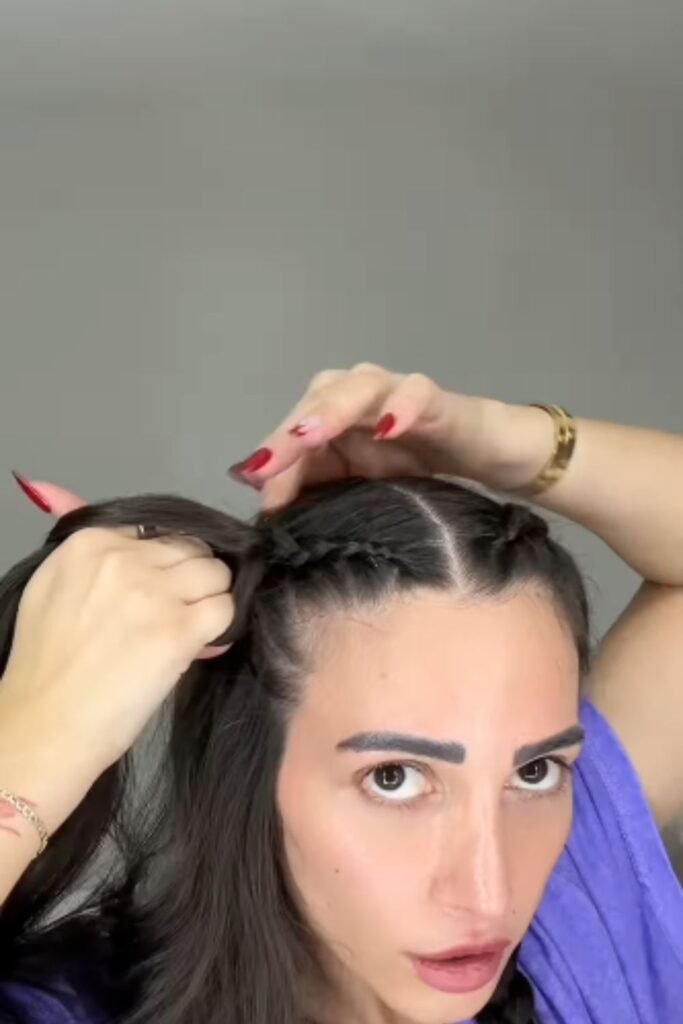
Continue crossing the right strand under the middle and then the left strand under the middle, ensuring to integrate all the hair into the braid.
Complete the Braid
Once all the hair has been incorporated into the braid, continue with a standard three-strand braid until you reach the end of the hair.
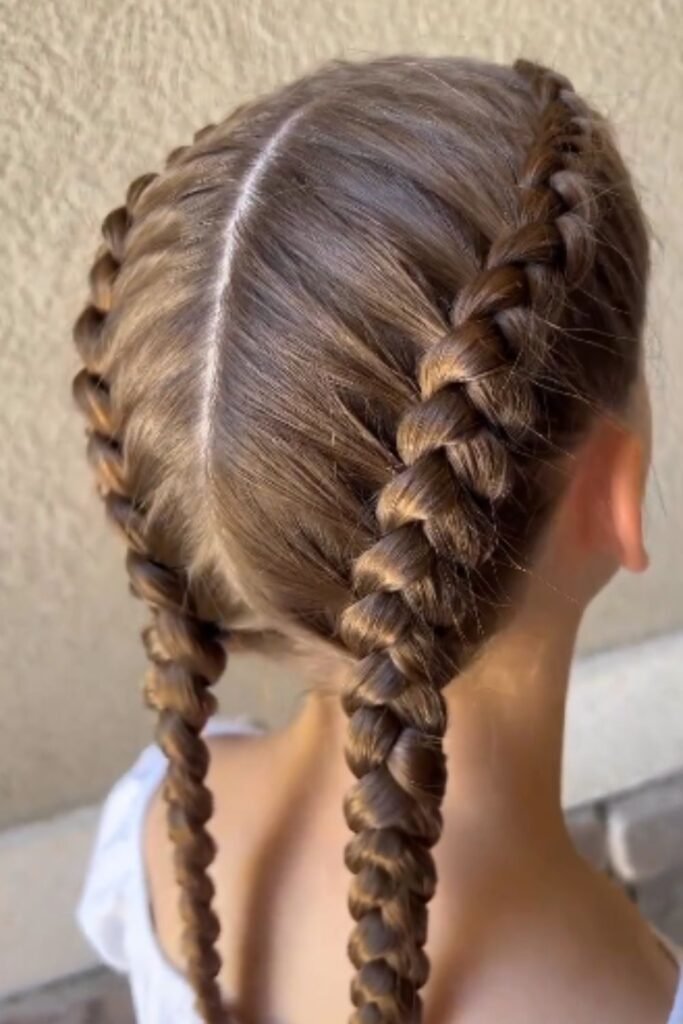
Secure the end with a small hair elastic to hold the braid in place. For a more secure hold, twist the elastic around the braid several times.
Finishing Touches
Gently tug at the edges of the braid to loosen it slightly for a fuller and more voluminous look.
This step can also help conceal any minor imperfections and give the braid a more polished appearance. For a more casual style, pull a few strands loose around the face.
Set the Braided Look
Apply a light mist of hairspray or a setting spray to keep the braid in place throughout the day.
This step is crucial for maintaining the integrity of the braid and ensuring that it stays neat and tidy regardless of your activities.
4. Continue to the End
Finalize the Braid
To finish the braid, make sure the strands are even and the tension remains consistent as you braid.
If desired, you can wrap a small section of hair around the elastic to conceal it and secure it with a hairpin. This adds a polished, professional touch to the completed braid.
Review and Adjust
Stand in front of a mirror and review the entire braid. Adjust any uneven sections by gently pulling and tugging to achieve your desired look.
This final adjustment phase is essential for ensuring that the braid not only looks good in the mirror but also from different angles, maintaining a uniform style.
5. Finishing Touches
Securing the Braid and Adding Accessories
Securing the braid properly is essential for a long-lasting style. After completing the braid, use a strong elastic band to tie off the end securely.
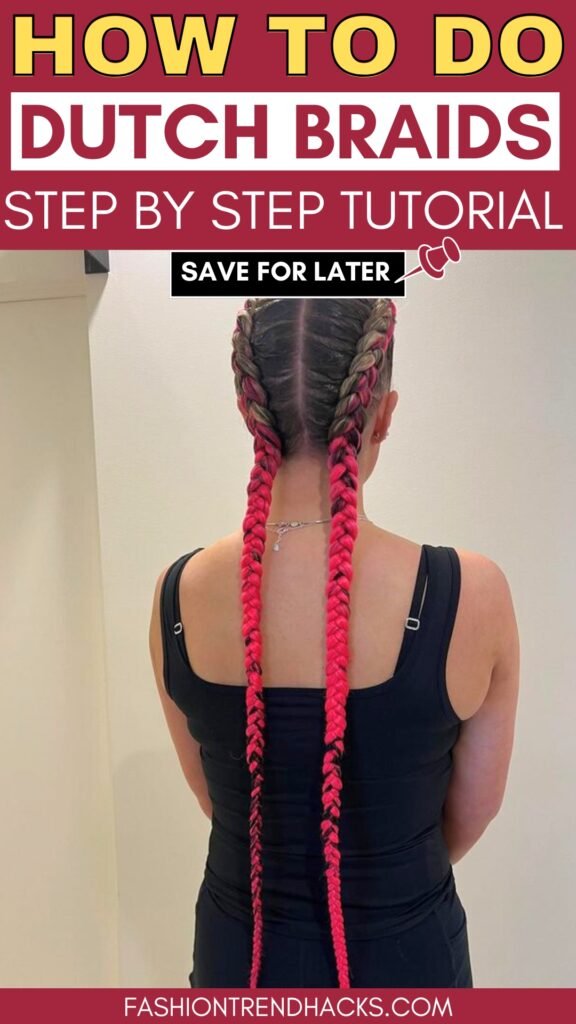
To elevate the look, consider adding accessories such as ribbons, decorative pins, or hair combs.
These embellishments not only add a personal touch but also help keep any loose strands in place.
Styling Tips for a Polished Look
For a polished appearance, ensure that the braid is symmetrical and aligned with the rest of your hairstyle. Smooth down any flyaway with a lightweight serum or gel. Furthermore, select accessories that complement your outfit and overall style.
For special occasions, gold or silver accents can add a touch of elegance, while colorful ribbons or clips can introduce a playful vibe for a casual look.
Always take a final look in the mirror from different angles to ensure the braid appears neat and seamless.
Troubleshooting Common Issues
Braiding can sometimes bring its own set of challenges, but with a bit of practice and patience, you can overcome these common hurdles.
Solutions for Common Braiding Problems
- Uneven Braids: If you notice your braid is uneven, try dividing your sections more carefully from the beginning and keep the tension consistent while braiding. It may help to practice on smaller sections first before attempting a full braid.
- Loose Braids: If your braid feels too loose, pull each completed section slightly tighter as you progress. Always finish by securing the end with a sturdy elastic band to prevent unraveling.
- Flyaways and Frizz: To manage flyaways and frizz, apply a smoothing serum or light hairspray before braiding. For particularly stubborn strands, consider a light mist of water or a quick pass with a smoothing brush.
Tips for Beginners
- Start Simple: Begin with basic braids such as a three-strand braid before moving on to more complex styles like French or Dutch braids. This builds your confidence and foundational skills.
- Use a Mannequin Head: Practicing on a mannequin head can be less stressful and improve your technique before braiding your own hair or someone else’s.
- Take Breaks: Don’t be discouraged if your hands become tired or if you’re struggling to perfect a technique. Take breaks as needed to rest your hands and clear your mind.
- Watch Tutorials: Many online tutorials offer great tips and demonstrations that can help you visualize the process. Watching experts can provide insight into finger placement and technique.
Conclusion
In conclusion, mastering the art of braiding involves understanding the fundamental steps, addressing common issues, and applying practical styling tips.
From maintaining tension and managing flyaway to practicing simple braids, each step contributes to the development of your braiding skills.
Remember to utilize smoothing serums and to secure the ends tightly to ensure your braid remains neat throughout the day.
Most importantly, don’t be afraid to practice frequently and experiment with different styles to discover what works best for you.

Hi, I am Michelle Phillips who loves to be inspired by modern beauty & fashion trends. That’s why I created this website to share latest fashion trends.
You, will find hairstyles, nails designs, makeup looks and hair color ideas here. So, let’s follow us on Pinterest to become a part of Fashion Trend Hacks community.

