How to Do Waterfall Braid [Ultimate Tutorial] for Beginner 2024
The waterfall braid is a stylish and elegant hairstyle that features a cascading effect, allowing sections of hair to flow through the braid like a waterfall.
This versatile braid is perfect for various occasions, from casual gatherings to more formal events, adding a touch of sophistication to any look.
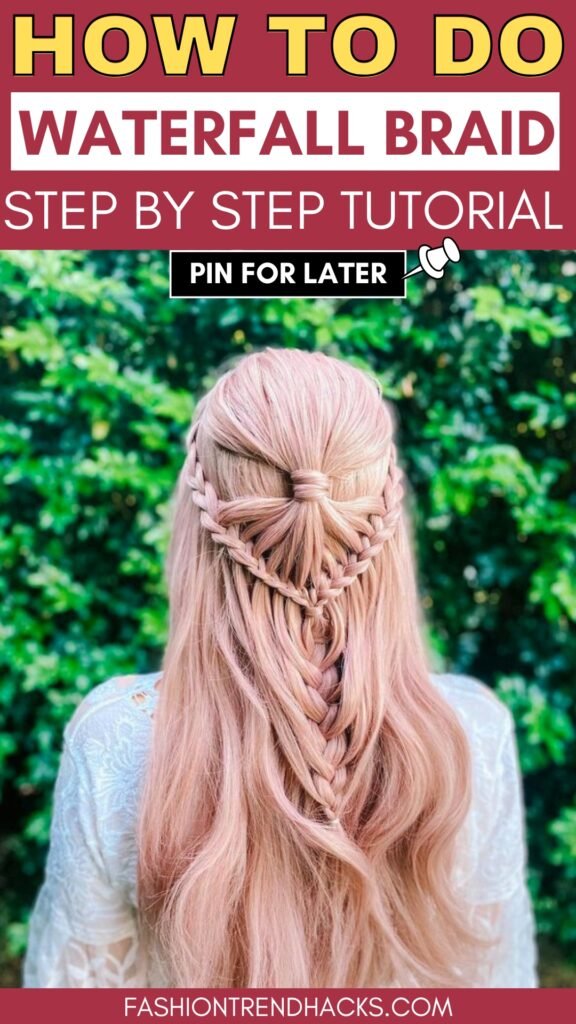
Whether attending a wedding, going on a date, or enjoying a picnic with friends, the waterfall braid is a suitable choice.
To successfully create this hairstyle, you’ll need a few essential tools and products, including a fine-tooth comb, hair elastics, bobby pins, and a light-hold hairspray to keep the braid in place while maintaining a natural look.
Step-by-Step Guide
1. Preparation
To begin creating a waterfall braid, it’s essential to start with clean and detangled hair. Begin by washing your hair with a gentle shampoo and conditioner suitable for your hair type.

Once washed, gently towel-dry your hair to remove excess moisture, and then use a wide-tooth comb to detangle any knots.
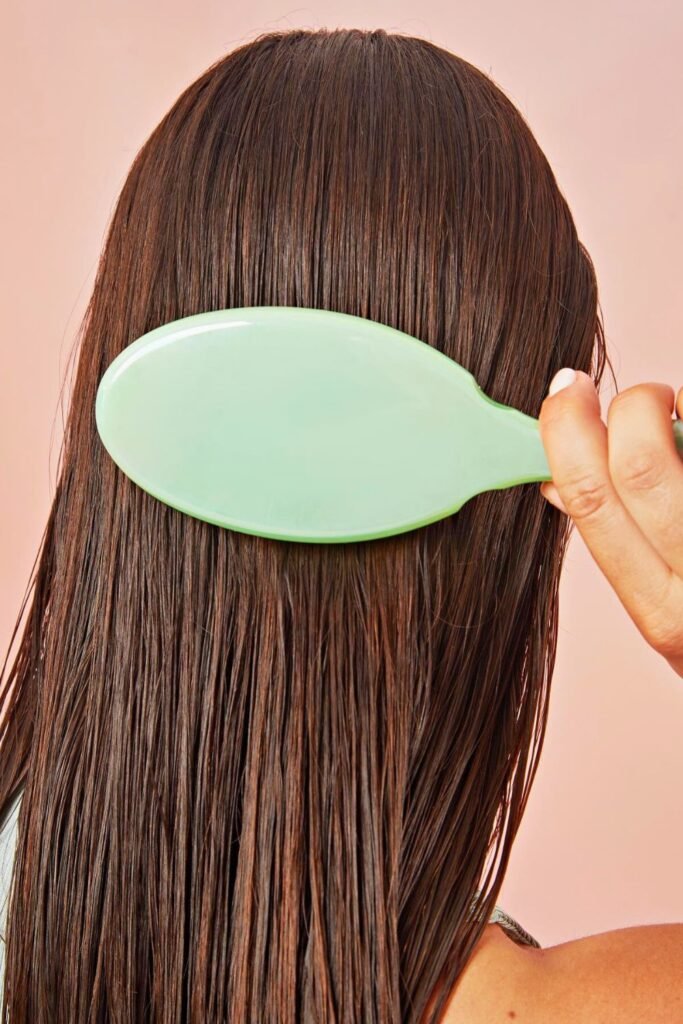
This step ensures a smooth base for braiding. After detangling, apply a small amount of styling product, such as mousse or styling cream, evenly throughout your hair to provide better hold and manageability.
2. Dividing Hair into Sections
Begin by deciding on which side you’d like your waterfall braid to fall. Use a fine-tooth comb to create a deep side parting on that side.
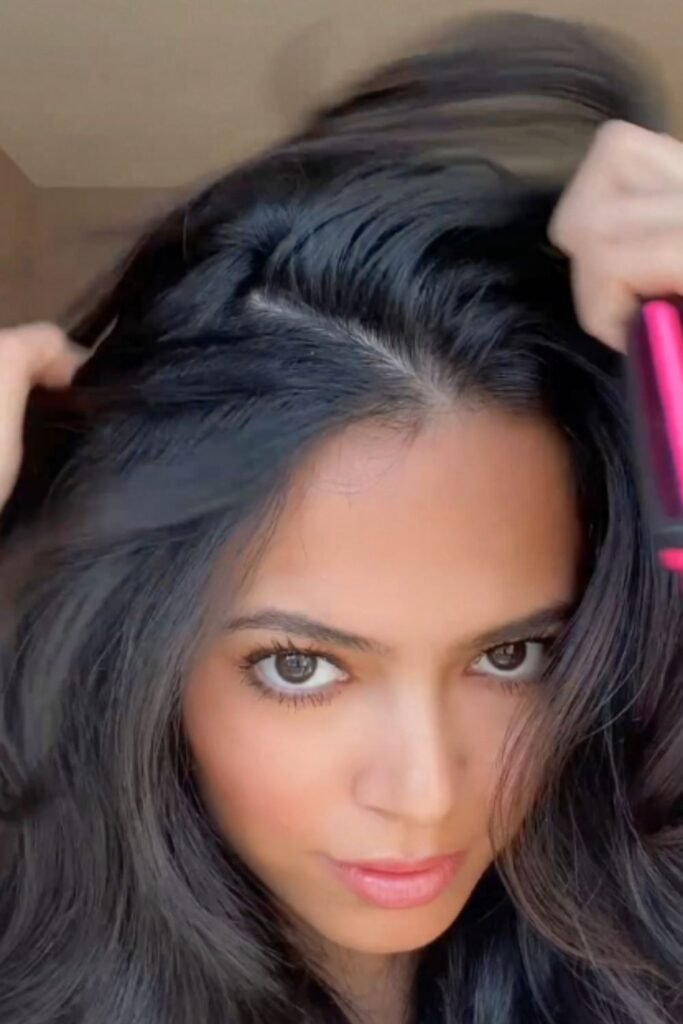
Once you have your parting, take a section of hair about 2-3 inches wide from the front near your hairline.
This section will form the top of the braid and flow around the head. Clip the rest of your hair away to prevent it from interfering with the braiding process.
3. Starting with a Basic Braid at the Parting
With the initial section you’ve separated, divide it into three smaller strands. Begin a simple three-strand braid near the parting.
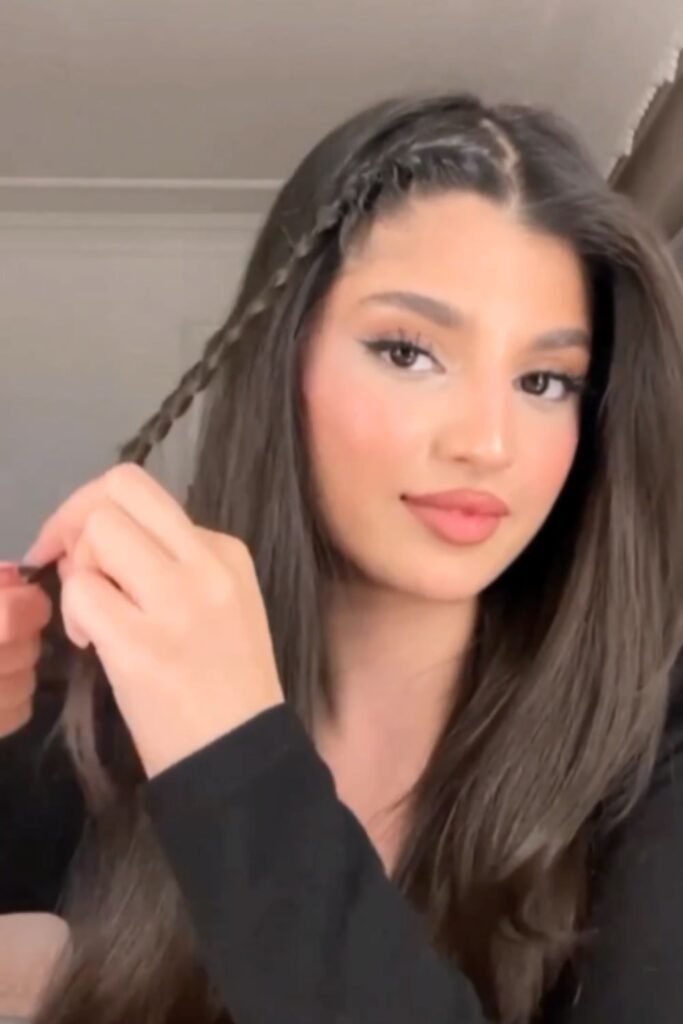
Cross the right strand over the middle, followed by the left strand over the new middle strand.
Repeat this process a few times to establish the base of your waterfall braid. As you progress, focus on maintaining an even tension on the strands to ensure the braid stays tight and secure.
4. Dropping Sections to Create the “Waterfall”
As you continue braiding, it’s time to incorporate the waterfall effect. After crossing the right strand over the middle strand, drop the left strand entirely.
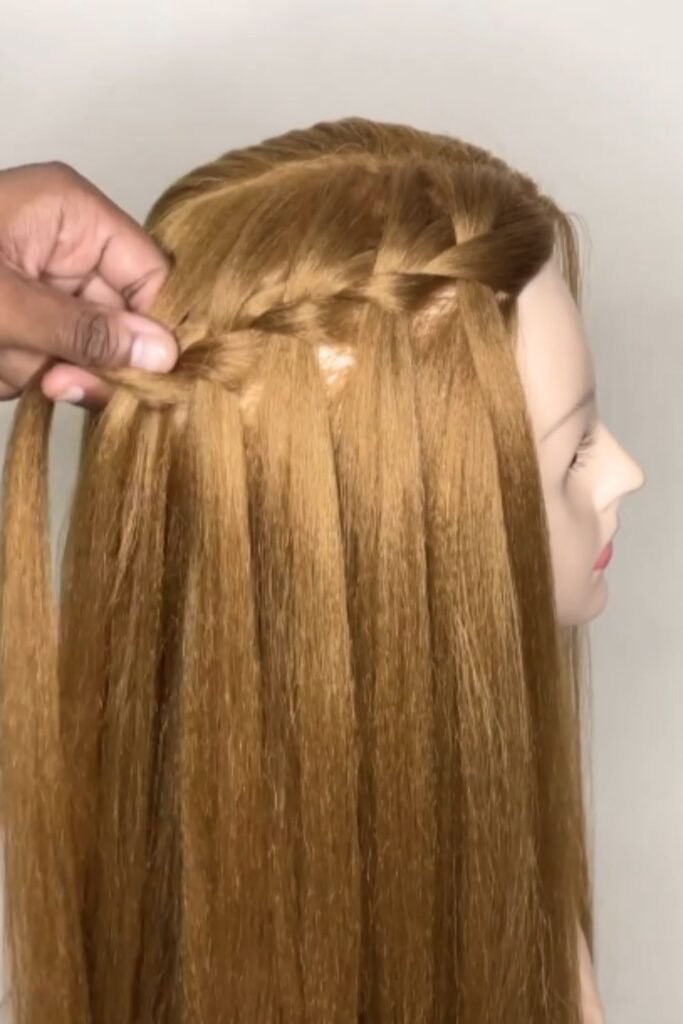
Let it fall along the side of your head, creating the characteristic “waterfall” effect. This strand will not be part of the braid any longer, giving the braid a cascading look.
5. Adding New Sections of Hair
With a strand dropped, you will need to pick up a new section to continue the braid. From directly beneath the fallen section, gather a small portion of hair and add it into the braid in place of the dropped strand.
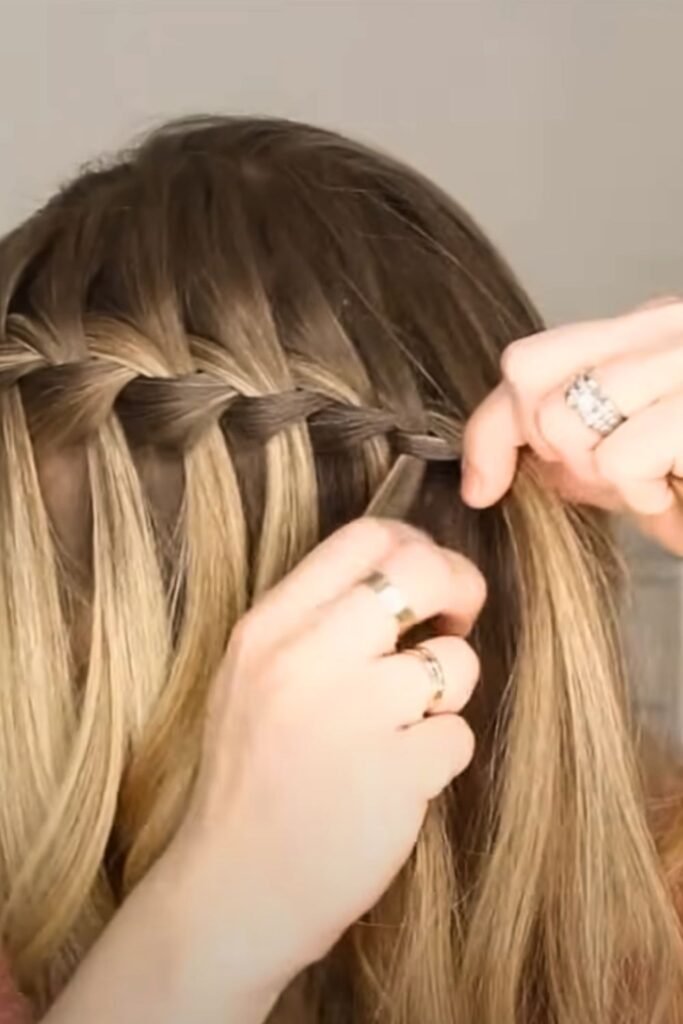
Repeat this process: braid, drop one section, and pick up a new one as you work your way around the head.
Ensure each strand is approximately the same size for a uniform look. This method will result in a stunning waterfall braid that elegantly wraps around your hair.
6. Repeating the Pattern Around the Head
To achieve a full waterfall braid that wraps beautifully around the head, continue the pattern of dropping sections and incorporating new strands.
As you work, maintain a steady pace and ensure each newly incorporated section blends seamlessly into the braid.
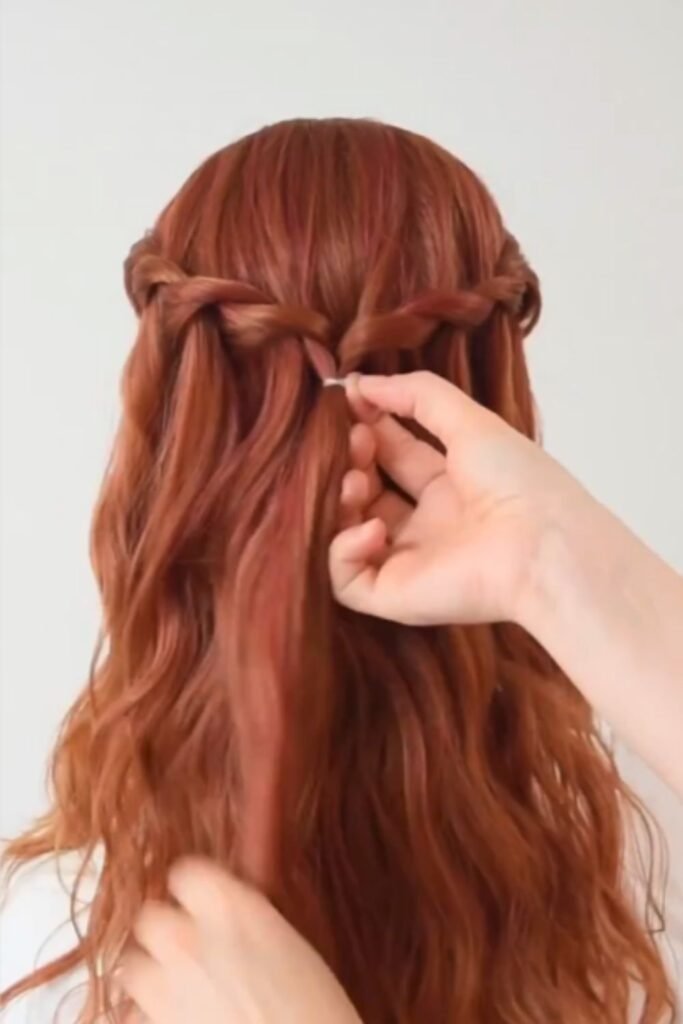
Follow the curve of your head, allowing the braid to naturally flow and contour along your hairline.
This technique not only emphasizes the cascading effect but also distributes the braid evenly, making it a perfect choice for both casual and formal occasions.
7. Tips for Maintaining Tension and Uniformity
Maintaining tension is crucial for creating a polished and secure waterfall braid. Make sure to gently yet firmly hold each strand while braiding, preventing any sections from becoming too loose.
Consistency is key; aim for each braid link to be uniform by using sections of similar thickness and style.
A bit of texturizing spray or wax can help manage flyaways and keep the braid intact.
Practicing patience and a steady hand will ensure that your braid retains its elegant structure and that the waterfall effect remains prominent throughout the style.
8. Securing the Braid
Once you have completed the braid, it’s essential to secure it properly to ensure it remains intact throughout the day.
There are a couple of options for finishing techniques that can effectively hold the braid in place.
Using Bobby Pins
For a more invisible hold, strategically place bobby pins along the end of the braid, tucking them under the last braid link to maintain the seamless flow of the waterfall effect.
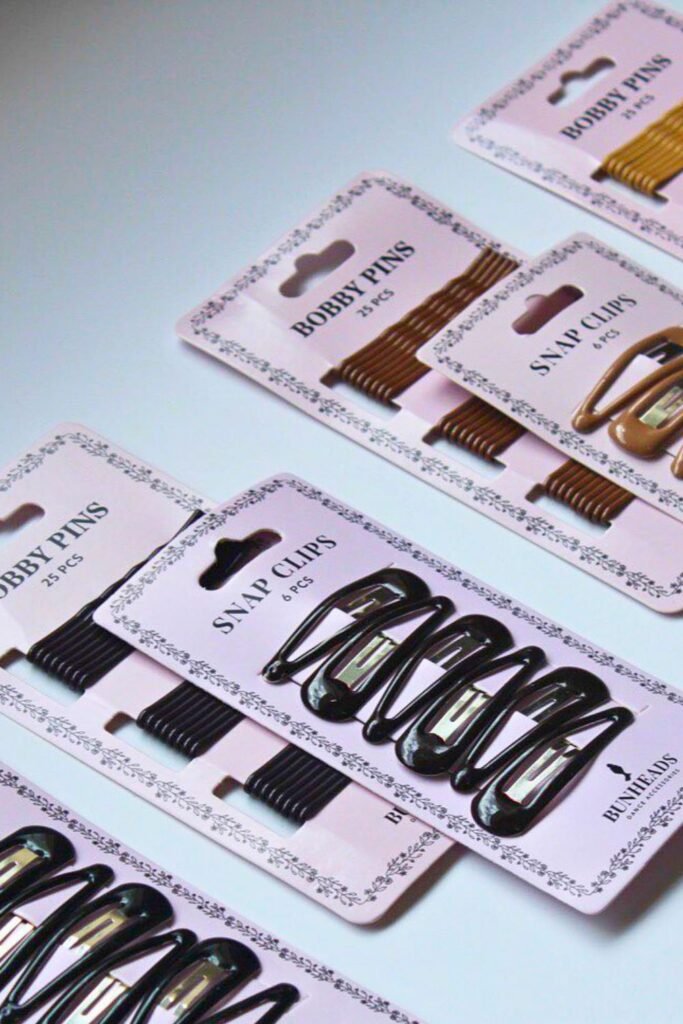
Make sure the pins match your hair color to blend in naturally. Secure the end of the braid by crossing two bobby pins in an “X” shape for added stability.
Using Elastics
Alternatively, a small, clear elastic band can be used to tie off the end of the braid.
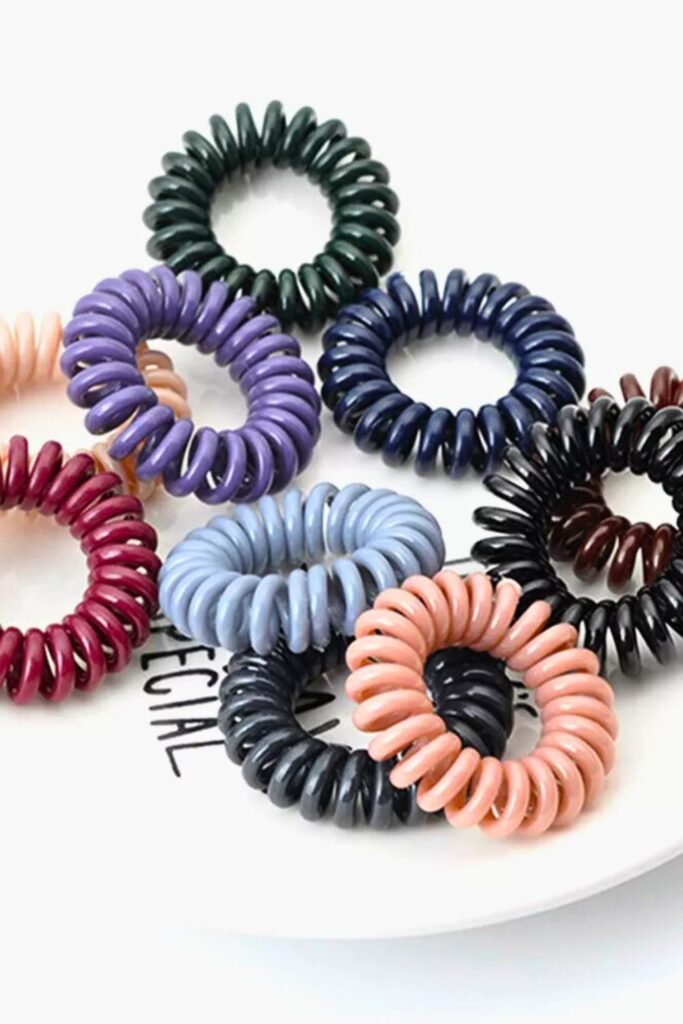
This method is especially effective if you plan on incorporating the braid into a ponytail or bun.
The elastic provides a secure hold while maintaining the braid’s design, allowing you to style the remaining hair as desired.
Tips and Tricks
Adjusting for Different Hair Types and Lengths
When creating a waterfall braid, it’s important to adapt the technique according to hair type and length.
For fine hair, use a texturizing spray prior to braiding to add grip and volume, which helps in maintaining the structure.
Those with thick or curly hair might benefit from applying a smoothing serum to minimize frizz and tangles.
Longer hair may require additional sections to be incorporated into the braid, while shorter hair might need more precise handling to ensure the braid holds in place effectively.
Accessorizing with Ribbons or Clips
Adding accessories like ribbons or decorative clips can enhance the visual appeal of your waterfall braid.
Threading a ribbon through the braid can add a pop of color and is perfect for special occasions. Secure the ribbon at the start of the braid and weave it along with the hair sections.
For a more subtle approach, use adorned clips or pins to accentuate key areas of the braid, coordinating them with your outfit for a cohesive look.
Troubleshooting Common Issues Such as Loose Strands
It’s common to encounter loose strands or sections falling out of the braid, especially with layers or fine hair.
To counteract this, ensure that each section is pulled taut as you braid, maintaining consistent tension.
If a particular strand becomes loose, discretely tuck it back into the braid and use a small, clear elastic or a bobby pin to secure it.
Conclusion
Creating a waterfall braid combines creativity and technique, resulting in a beautiful, flowing hairstyle that can be adapted to various hair types and occasions.
By following the steps outlined, you carefully section your hair, braid with precision, and incorporate additional strands to create the signature cascading effect.
The introduction of accessories like ribbons or clips can further enhance the braid’s aesthetic, adding a personal touch.
The benefits of styling with a waterfall braid extend beyond its elegant appearance. It offers a practical solution for keeping hair secured while maintaining a soft, romantic look.

Hi, I am Michelle Phillips who loves to be inspired by modern beauty & fashion trends. That’s why I created this website to share latest fashion trends.
You, will find hairstyles, nails designs, makeup looks and hair color ideas here. So, let’s follow us on Pinterest to become a part of Fashion Trend Hacks community.



![26 Short Layered Bob Hairstyles Ideas [Ultimate List] 2025](https://www.fashiontrendhacks.com/wp-content/uploads/2024/11/short-layered-bob-hairstyles-27-768x432.jpg)

